01
What to send
Plans or a sketch with sizes, the edges you want finished (pencil round, bullnose, mitred waterfall), and your preferred colour. Photos of the room help with joins and sink cutouts.
The process · From drawings to install · Bayswater, Melbourne
Six stages, start to finish, and you can see each one. This page is the detail: what happens at every stage, what we need from you, what you get back, and the real tool from your quote where it applies.
Further down, each stage carries the real tool from your quote: the portal, the slab, the saw and the 3D room.
How long does it take? We aim to have a job templated, cut and installed within ten business days of the quote being accepted. Larger or unusual jobs take longer, and we say so when we quote.
Stage 01 · Day 1
A builder’s plan, a kitchen designer’s drawing, or a sketch with rough sizes and a few photos of the room. Make the dimensions clear, mark any edge that needs finishing, and tell us the stone you have in mind. Within 24 hours you have first guidance: fit, drawings and the next step.
01
Plans or a sketch with sizes, the edges you want finished (pencil round, bullnose, mitred waterfall), and your preferred colour. Photos of the room help with joins and sink cutouts.
02
We confirm what will and will not work, flag anything that changes the price, and tell you what we need before the full quote can be drawn.
03
Say so. We suggest stones that suit the design and the budget, and can arrange viewings with suppliers who know their slabs.
Stage 02 · Within 48 hours
We draw your job to scale, lay every piece on the slab and price it as one job. Your quote arrives as a private link: the scope of work, the 3D render in your stone, the workshop drawings and the nesting. While the quote is open you can play with the nesting yourself: drag the pieces around the slab to chase a vein, turn one to catch the grain, or shift a join to where you want it. The quote updates to match, so you see how much stone the job uses, not just a number. Try it below.
The full portal on a real job: quote details, scope, 3D render, workshop drawings, nesting, take control and the saw. It opens right here, in a window, and closes when you are done.
01
The nesting shows how your pieces sit on each slab. If material is left over, add a feature; if a small tweak saves a slab, we tell you.
02
Ask for a different edge, a different stone or a moved join from the portal and a revised quote lands on the same link.
03
Until colour, price and slab usage are right. Getting the quote correct is the point of this stage.
Stage 03 · You decide
Ready to move forward? Sign and return the quote with the deposit and your job takes its place on the production schedule. Still exploring? We keep helping until the colour, the price and the slab count all sit right.
01
Three generations of supplier relationships. We buy the stone for your job through partners who share our standards, at rates you will not get walking in cold.
02
Warranty on the stone, guaranteed. We work with suppliers whose reps are knowledgeable, personable and customer first.
03
We source options and arrange viewings of full slabs, so the stone you choose is the stone you saw, blemishes, veins and all.
Stage 04 · Cabinets in
Cabinetry must be complete before we template: we measure to the millimeter, and unfinished cabinets mean stone that does not fit. Once everything is ready we book the site visit and confirm joins and final details with you there. We then nest the final measurement against your selected slabs.
We make sure final sizes work as originally planed during your quote. We will confirm with you final layout and revise as needed if sizes happened to grow and no longer fit on the original slab layout.
Your project will be built in 3D so you see the finished kitchen before a single cut. We cut when you are happy for us to do so.
01
An accurate digital site measure with minimal error, and the joins and finishing touches agreed on site.
02
Your slab is photographed and scanned, then your pieces are laid on that exact photo. What you see is the stone you bought.
03
Visit the Bayswater showroom and we lay the job out on the big screen with you, so the island and the vanities carry the stone’s best character and avoid its quirks.
Stage 05 · Scheduled
Once the pieces are nested and you have confirmed the layout, fabrication begins. First we check every measurement against your approved quote and tell you straight away if anything does not match. Then the slab goes to the bridge saw, the edges to the profiling wheels and the polishers. Watch the saw below: it is your job’s cut plan, not an animation of one.
01
Measurements against the approved drawing, joins against the nesting, edges against the profile you chose. Nothing is cut on assumption.
02
You get a timeframe and an install date, and a call the moment anything unexpected moves it.
03
We are stonemasons before we are a schedule. Speed is never the priority over a clean mitre or a matched vein.
Stage 06 · Install day
Your stone is transported carefully to site and installed by the same team that made it. Keep the site safe and accessible on the day: stone is heavy and awkward to move. Once it is in, we leave the site clean, photograph the finished work, and hand you back a kitchen you have already seen in 3D. Below, some of the jobs we have handed back.
01
You, or someone you trust, on site to confirm the final details. Your other trades can follow straight after.
02
Dust managed, offcuts removed unless you want them, and photos of the finished work before we leave.
03
Sealing advice, extra features from your offcuts, repairs and chips down the track. One workshop, one number to call.
View our work →

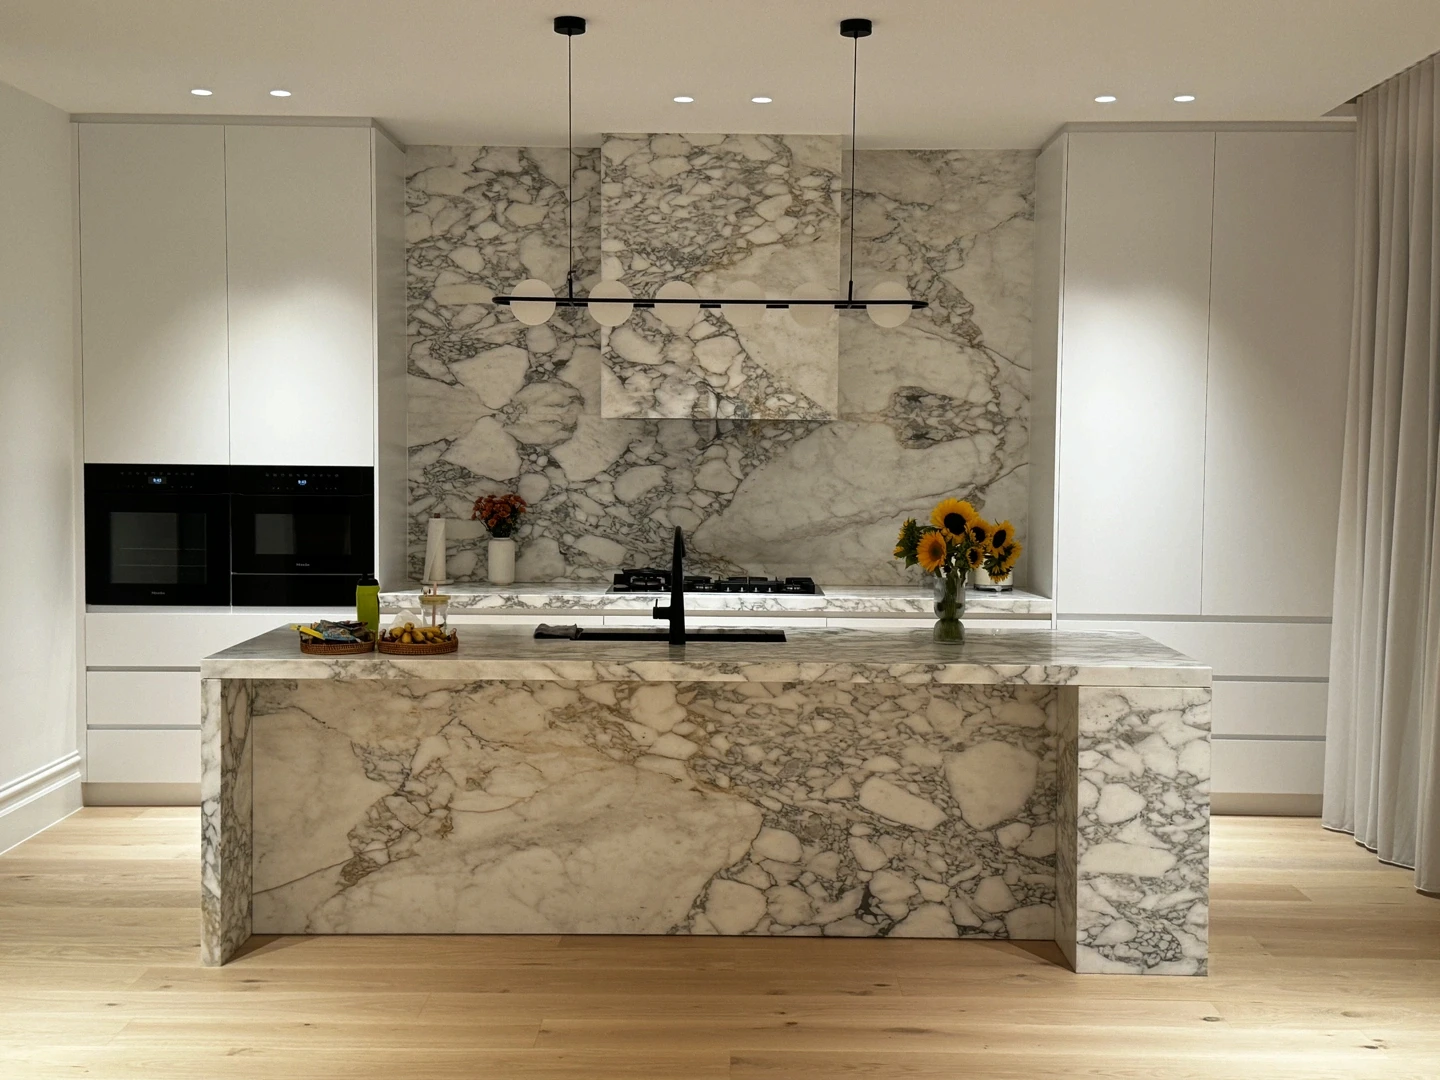
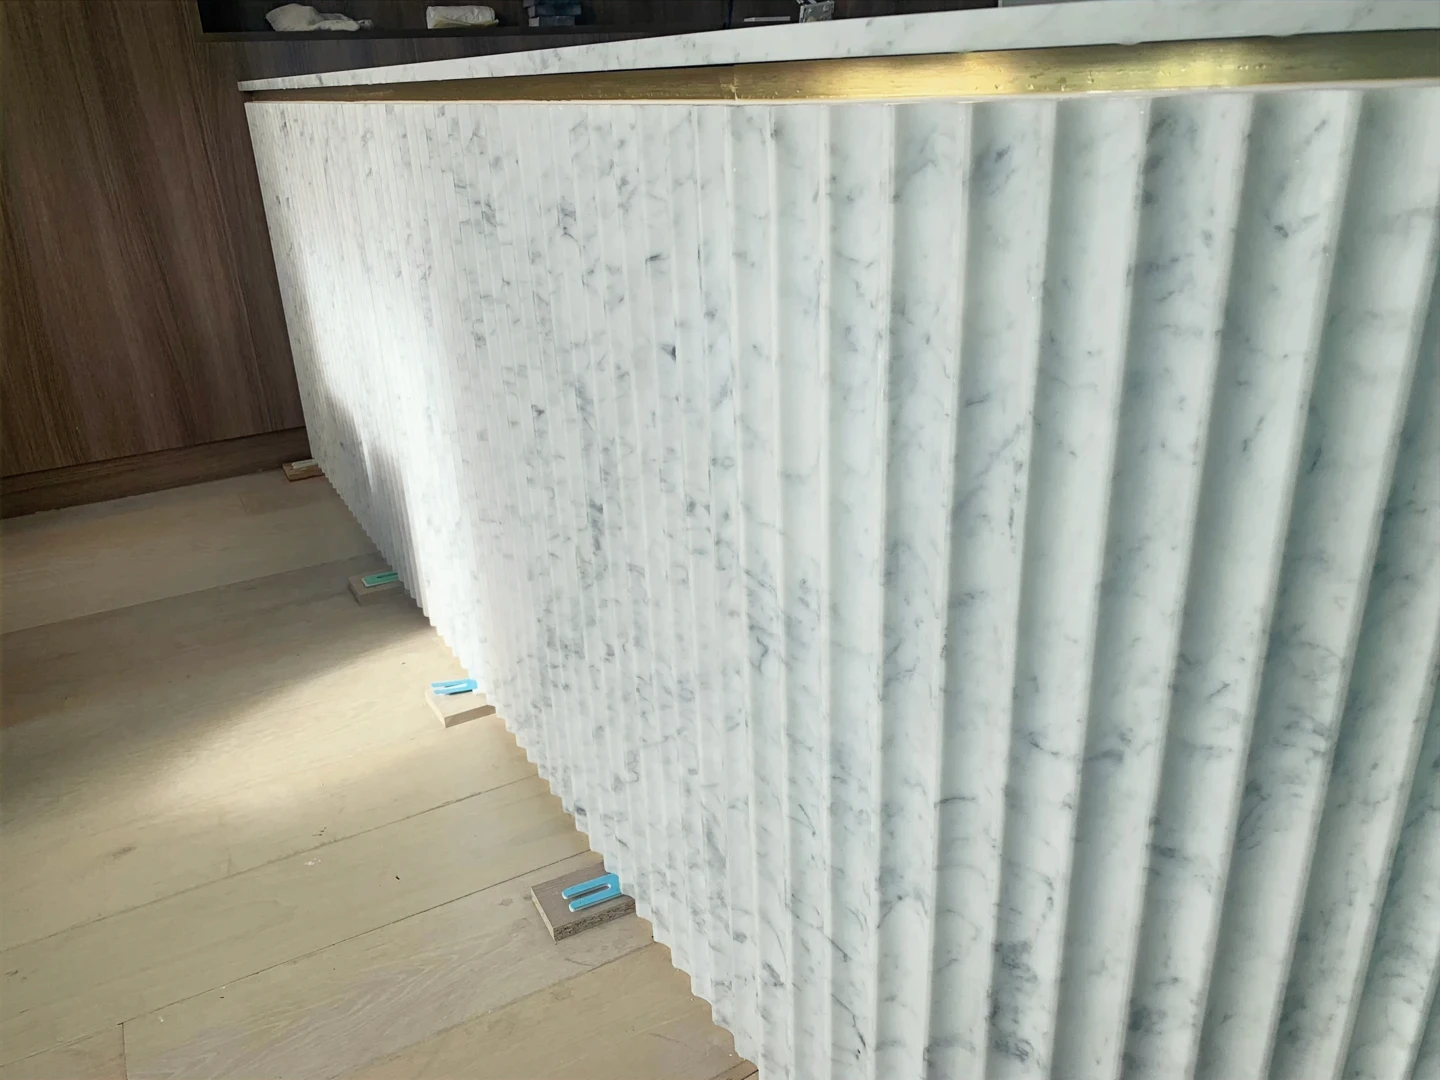
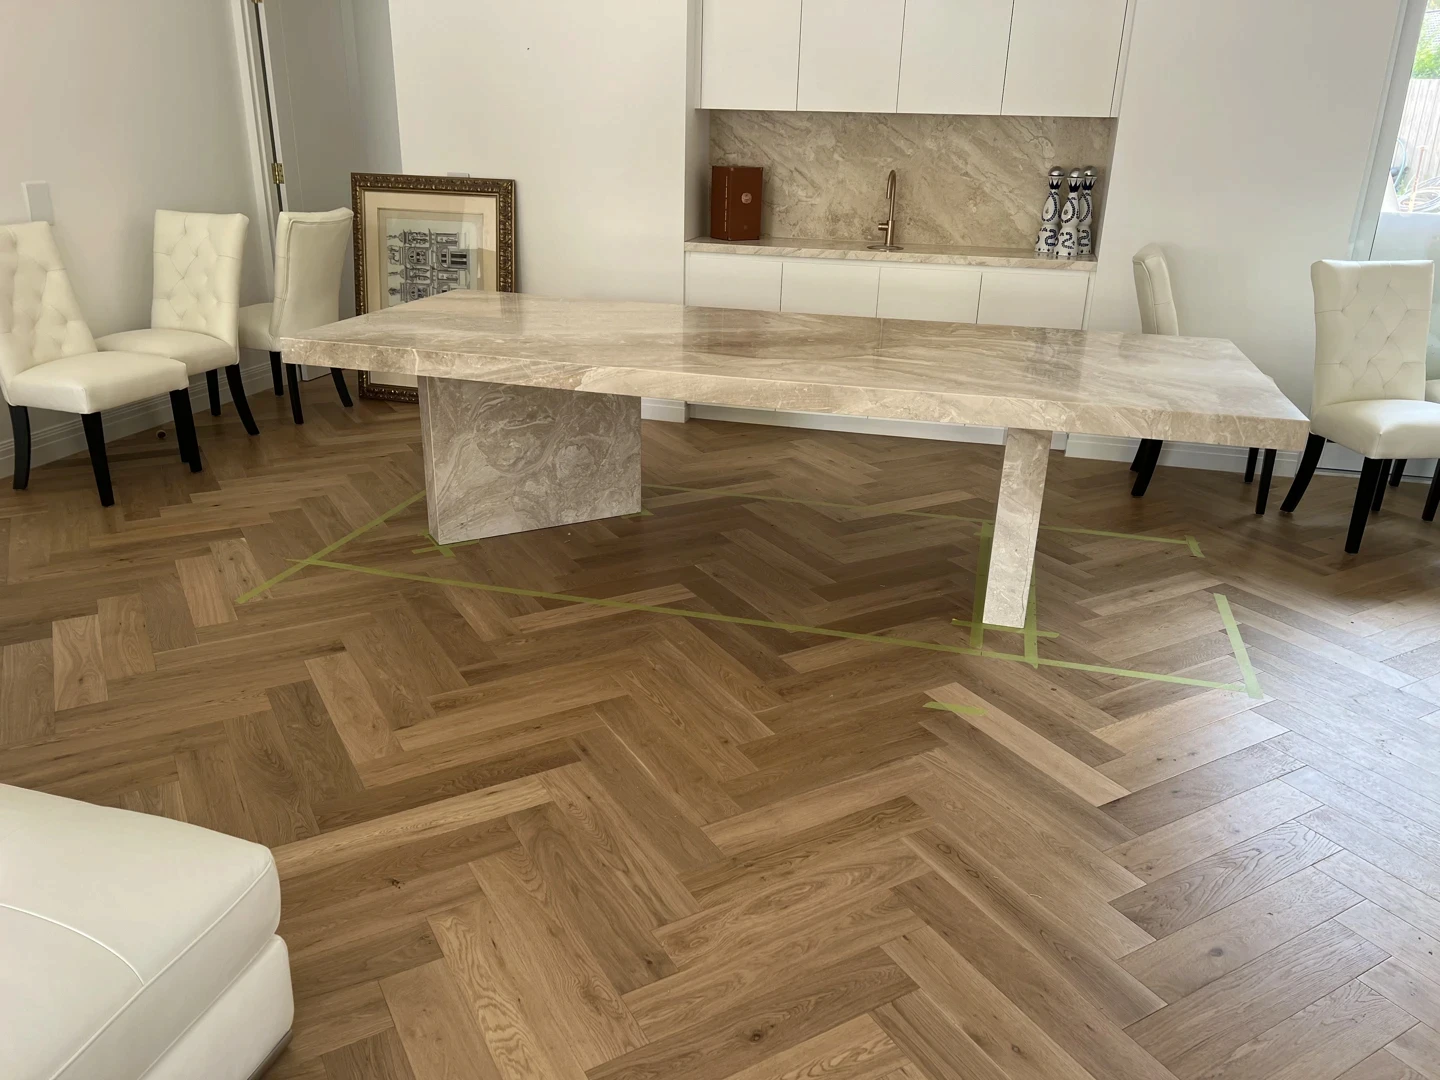
Send your drawings and you will have first guidance within 24 hours. Or open the interactive quote right here and see what you get, before you send a thing.
— Stone guides
The process is the same for every stone. What changes is the stone, and each one has its own page, plus a close look at the saw, the router and the polish.